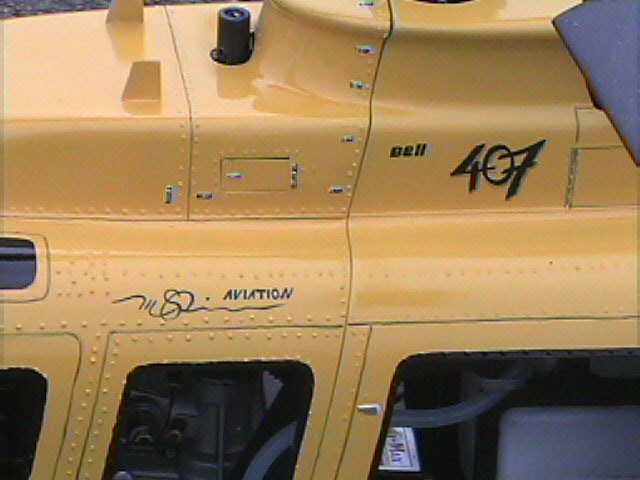
This is the INFAMOUS Bell 407
This WAS a Hawk II with a Funcky 46 size Long Ranger fuse. It had 600mm blades, 46 size motor, landing light, nav lights, and a Strobe. Hand made landing gear, and some really neat features. |
|

|
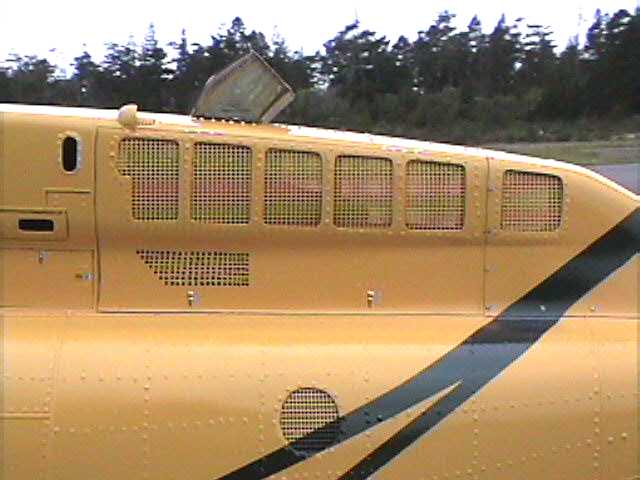
The Tic-Tac access panel
If you look close at the access pannel, you can see the top of a tic-tac top. I put small peices of wood on ether side of the top and then just glue it with CA. Smoothed out the outside with bondo and PRESTO!!!! an access panel!!! I needed the the pannel to get to a screw that holds the two halfes of the fuse together. The latches are not actually latches. Its creative paint. Three colors are used to give the illusion of depth. |
|
|
|
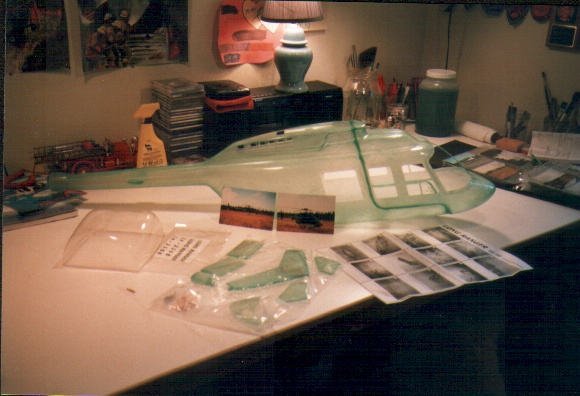
Where it all started
This is what you get from Funcky. Gree in everyway. barely any instructions. So you better have some other information to go by or its going to be a real brain teaser!! |
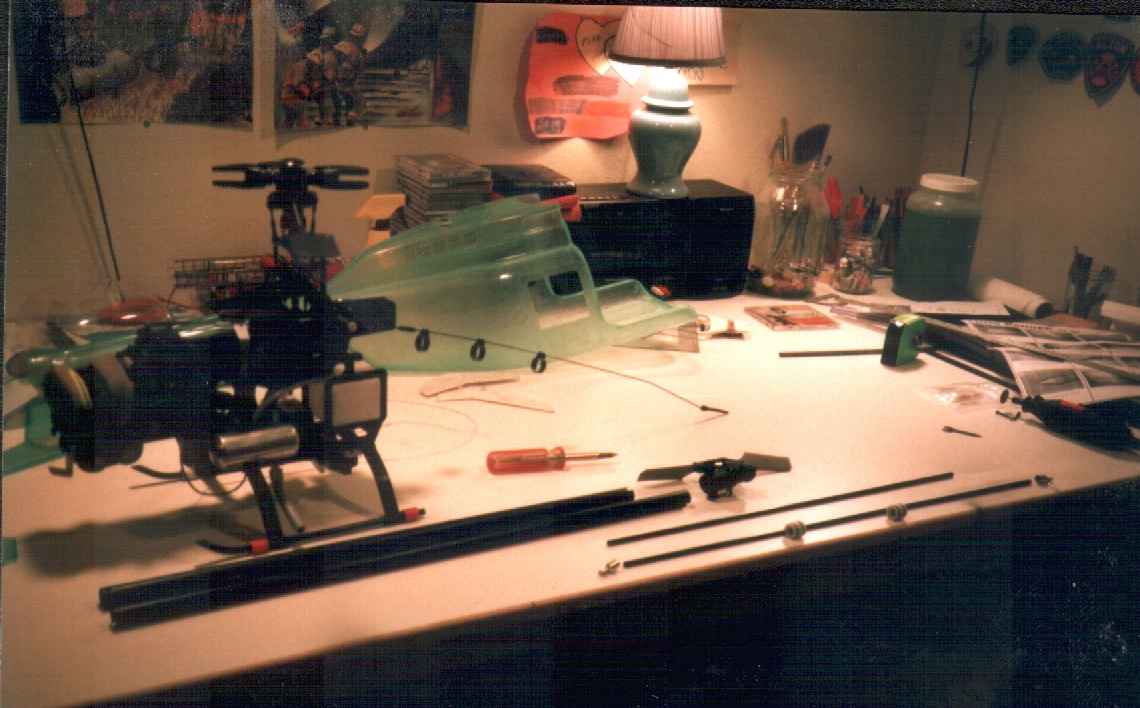
the first step
the first thing I had to do was lengthen the boom. Which ment a longet boom and longer torque tube. The tube was easy to make. Just a new tube cut to the proper length and CA'd to the ends. Make sure that you sand the carbon tube to get a good gripping surface for the CA to bond to. or else the unthinkable will happen. Like it did mine. NO TAILROTOR!!!! |
|
|
|
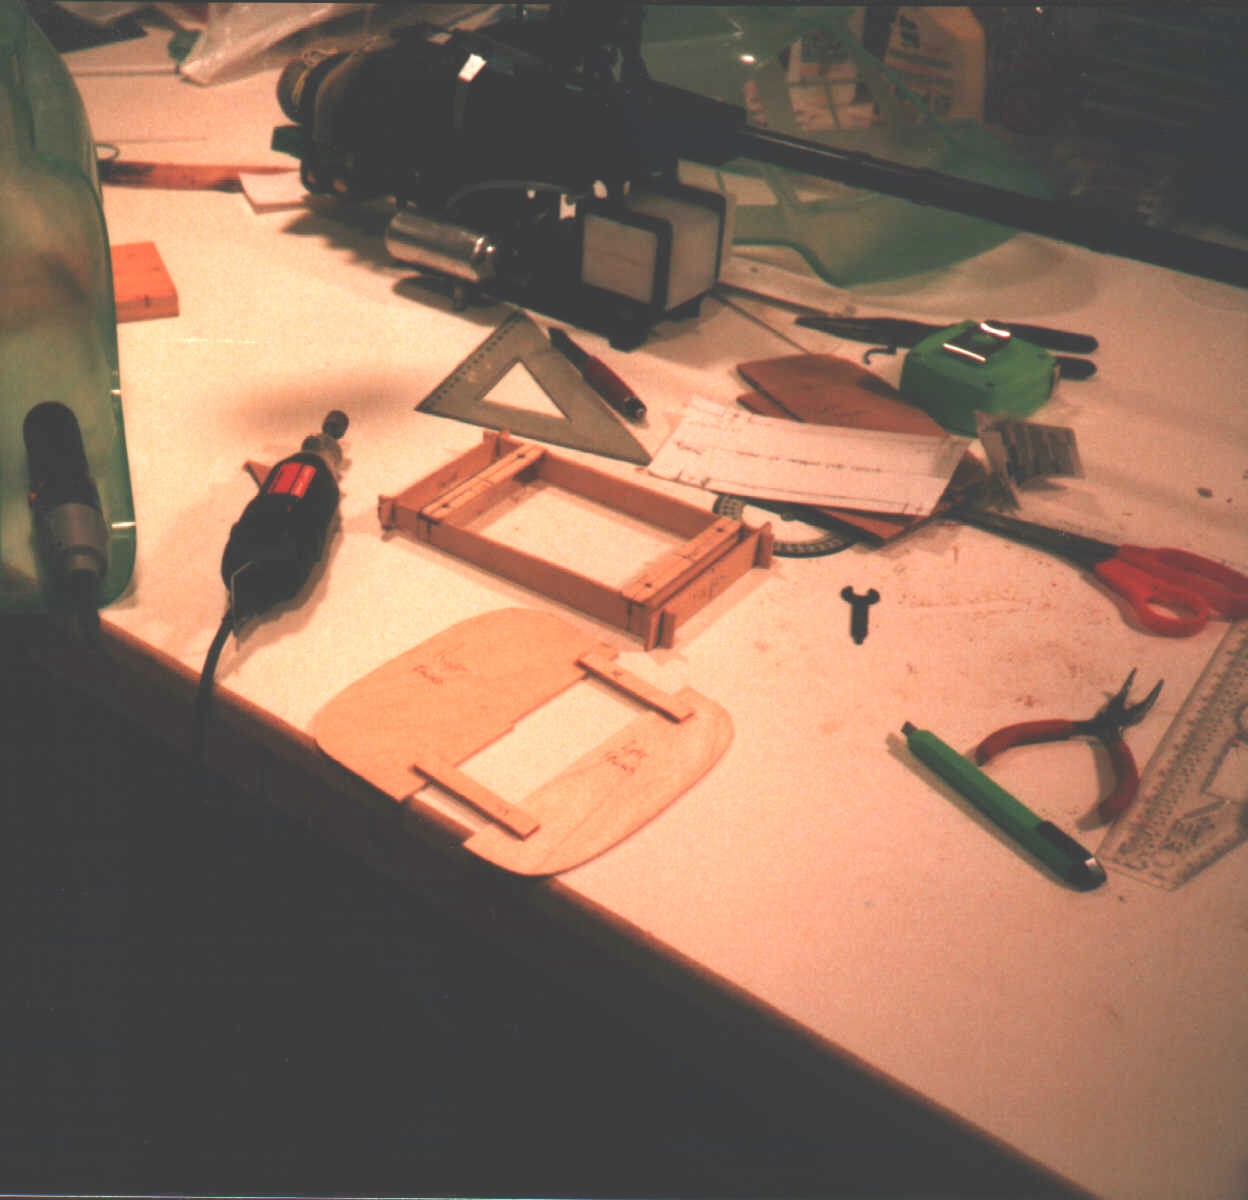
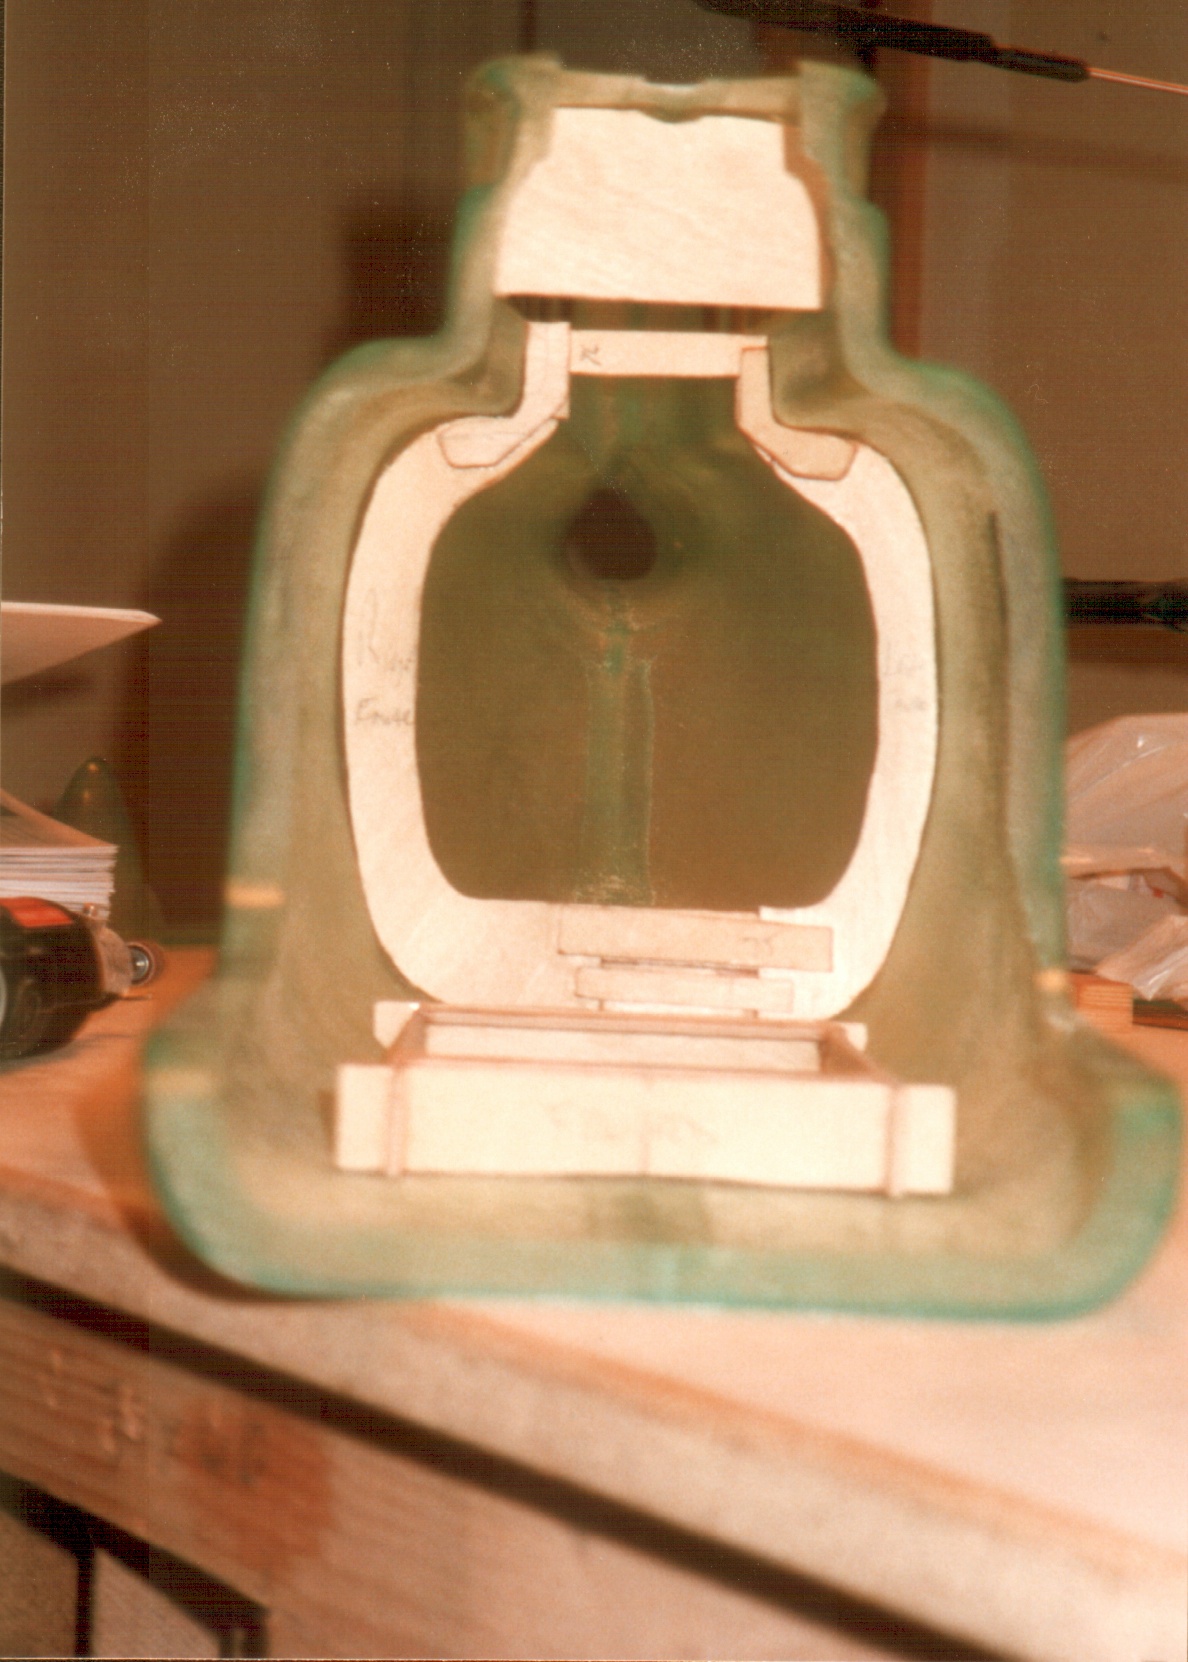
Figureing out the wood work
Since there were no instructions, I had figure out how to make the mechanics fit. First I set the machanics in the fuse at the right highth, then tried to measure the distances in the fuse to the bottom of the mechanics. This proved to be the most challenging part. |
test fitting of the first wood structures
this thing is far from a tight fit. epoxy was used to get the gaps filled then fiberglass used to attatch it firmly to the fuse. |
|
|
|
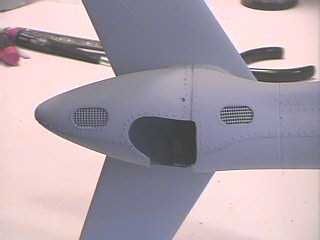
The vents and rivits
Here you can see the extra vent screens in the tail cone. a little modification was need for the tail rotor mechanics to fit in the holes. |
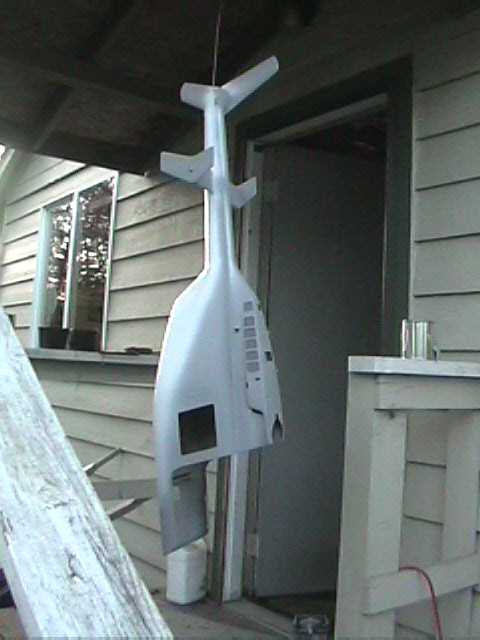
The first coat of white
the first color was the white bottom. You can see my dust free work shop. |
|
|
|
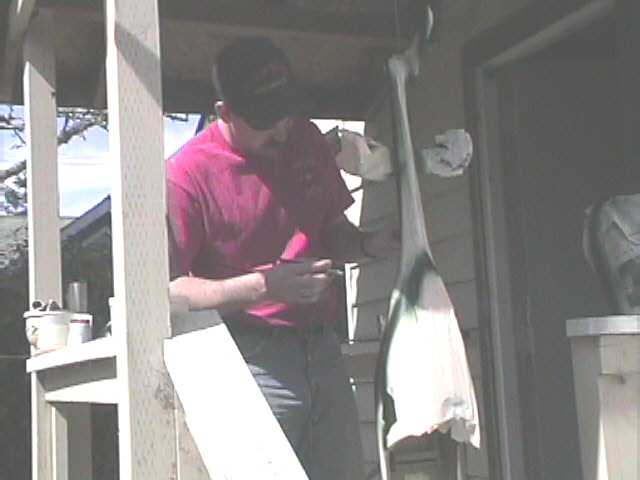
Me in my dust free paint room!! :)
After about 2 days of masking off the bottom of the green stripe and all the white, I shot the metalic green. The duel action air brush came in handy. There is a little O-ring in the brush that melted on the first shoot. I wouldn't have been able to shoot without the duel action. If I had a little bigger brush or maybe a detail sprayer, I would have an easyer time with how quick it dried. |
Oil and Amient air screens and vents
This is the left side of the ambient screens. most of the panels are painted with painted latches and rivits. and extra air scoop and screen ia on the upper left of the picture. The exahust is covered with crome vinyl and painted with thinned paint to give it the heated look. Not very visable in this picture but it looked really cool to see you reflection on it. You can't see it but there is a dummy engine in there. You can just see the shape of the tail of the turbine. |
|
|
|
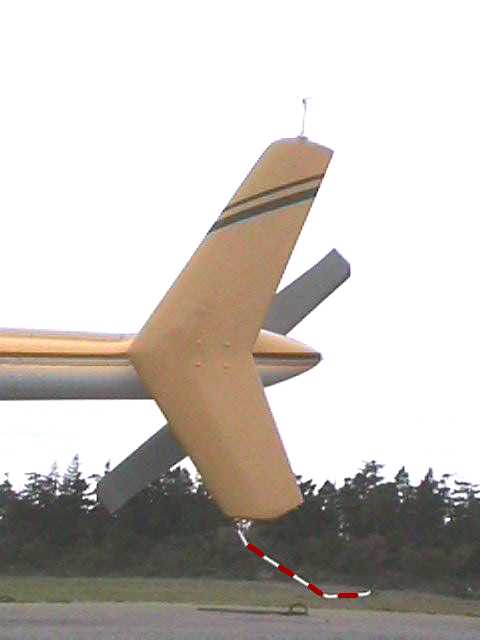
The tail skid wire.
The tail skid wire actually goes into the fin about 2 inchesa and is epoxied in. The full scale 407's skid is actually alot smaller, but to accomidate the bigger tail rotor of the Hawk II. |
Landing gear and floats
the floats are balsa wood with wire to hold the floats when they are deployed. The steps are shapped Sintra with sand in the black paint for the gripping step surface. |
|
|
|
|
|
|