| Home Page
About Page
Favorite Links
Photo2 Page
Photo3 Page
Photo4 Page
Photo Page
Catalog Page
Photo6 Page
|
|
These are the current pics that I have of the New and Improved Hirobo Lama!
This heli started out as a Hirobo Lama. From the start, I wanted to redo the whole thing. And I did...Just a little sooner than I had planed. After the June Brooks FF, I had a wire give me a RX hit and I broke the new landing gear from a hard wierd landing. So I started to do some maintenance on the heli and all I found was stress cracks everywhere. So it was off to the autoparts store and the metal shop for some break tubbing and some sheet aluminium. After 300 hours or so, I tried to fly the thing and that was a big joke!! Hit after Hit and I knew that all that new metal was the cause but i wasn't sure where to start. So I took my Lama up to Brooks along with a huge loan from the PATIENTS BANK to get it flying. First things first...the antena was ran down parallel to the now metal tail boom. I couldn't get 8' away on a range check. In went a new whip antena out the front of the cabin and that solves that problem!! Next was the metal connections. I had painted (PAY ATTENTION) all the tubes and when I bolted them together, the vibes of the heli started to work through the paint and contact. A really nice guy that I can't remember his name told me that the constant breaking of the metal to metal was also causing the RX hits! SOOOOOOOOOOO... I took it apart and scrapped both sides of every bolting point on the heli and tried it again. Damn if that didn't work. Ok now that the heli flies( YAHOOOOOOOOO!!!!!!) I was going to save it for the scale competition the next day. BUT!!!!!!...As I picked up the heli, it wouldn't turn backwards!! So I tare it apart again to find that I had blown the clutch. With no Hirobo parts to be found, I used a Rapter clutch, which had to be filed down to fit into the fan tower, and an extra lining put in the clutch bell. which also covered the existing GOUGED liner. Over night it had to sit and just when I get to start putting this thing back together, they want to do the static display for the scale compotition. ok...get it back together for the static with no engine in it, when the judging is done, its back to getting it flyable for the flying portion of the comp. With minutes to spare, it flies and It takes first place!!!!!!!
|
|
|
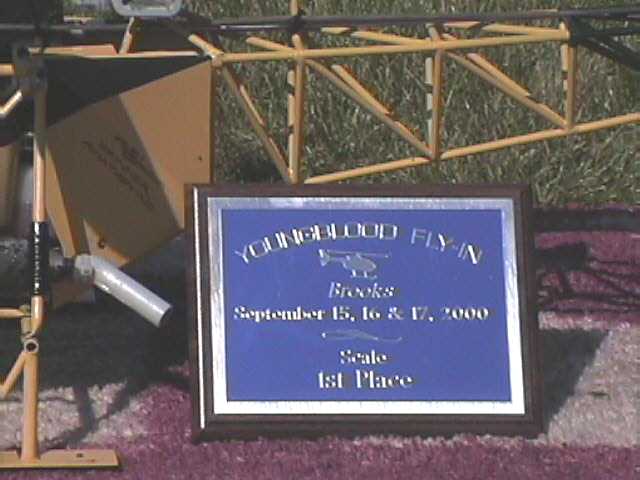
THE FIRST PLACE PLAQUE!!!
|
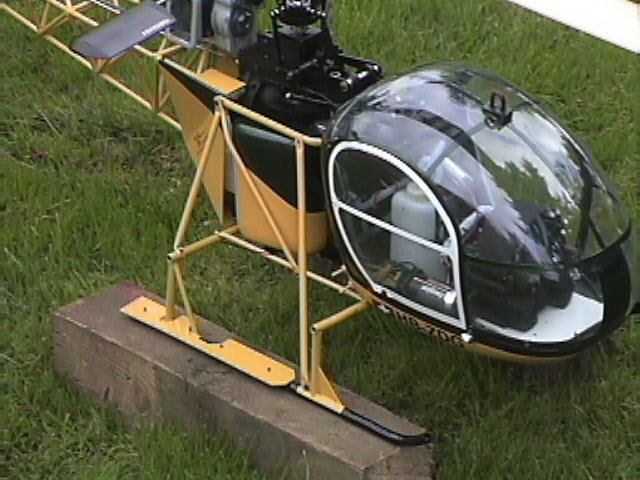
CLOSE UP OF THE SIDE LANDING GEAR AND STRUTS
|
|
|
|
HERE YOU CAN SEE THE FARINGS AND MY LOGO
The mufler for the 46 gets in the way, but I tried to paint it to make it look smaller. I'm also looking to make the deflector black. I used a black permanent marker but the nitro is wearing it off. BUT ... its a cheap fix!! |
THE TAIL SECTION
Here is one example of difference from stock. the original boom only had one strut from the middle of the rotor protector to the top of the boom. The full size version had two struts from this bottom point to the top. Also, I used all the original parts for the tail box with no modification. A good selling point!!! Don't you think?!?!
|
|
|
|
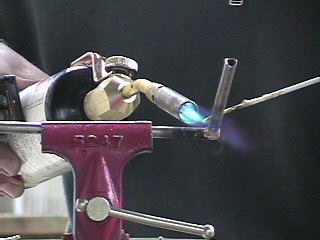
BRAZZING OF THE LANDING GEAR TUBBING
Brazzing takes a little practice. You got to get all the metal the same temp to get it to work right. When it does, it acts like solder and flows fery evenly and smoothly. If done right, you'll never have to go back and fix any extra brazzing material or sand any rough spots. Just remember, ITS STILL HOT!!! EVEN IF ITS NOT GLOWING!!! My first encounter with this problem will be my last!!(I hope!) |
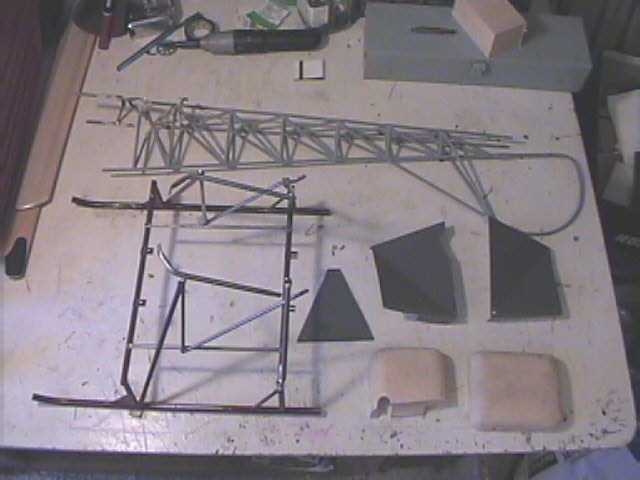
ALL THE NEW STUFF!!
This is all the new struts, boom, landing gear, farings, and dummy fuel tanks, before primer and base coat/ clear coat paint.
|
|
|
|
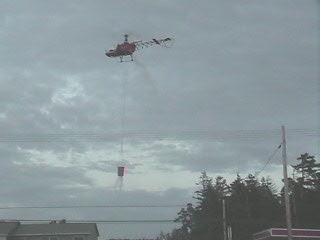
Here is the Lama before all the mods doing waterdrops in fromt of my house.
|
|
|